BIRCH/Developer resources/Netbeans and Git
From Bioinformatics.Org Wiki
Contents |
Overview
This page will show you everything that you need to do to get collaborate using Git and Netbeans.
Getting Started
Submit your public key to the repo admin
Before this can work, you must email your "~/.ssh/id_rsa.pub" file to the repo administrator, currently mailto:hameld@cc.umanitoba.ca. If this file does not exist, generate it with:
ssh-keygen -t rsa -N ""
Once you receive confirmation that the key has been added, you may proceed.
Get nbgit
Download the latest stable version (.nbm) of the nbgit plugin from google code. At time of writing, it is this file. Remember the location that you have saved it to, you will need it later.
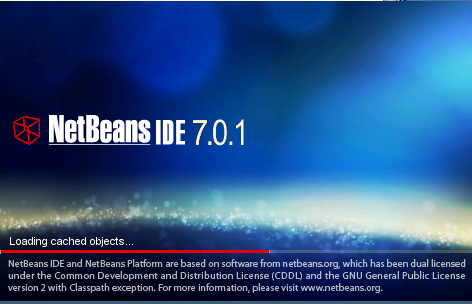
Verify that you are using netbeans version 6.9 or later by launching netbeans from the command line
netbeans
You should see a splash screen like this:

Now, once netbeans has loaded, select "Plugins" from the "Tools" menu (Tools->Plugins).
The plugin window should open. Go to the "Downloaded" tab, and click on the "Add Plugins" button. Now, blows for the .nbm file that you downloaded earlier. Your Plugins window should now look like this:
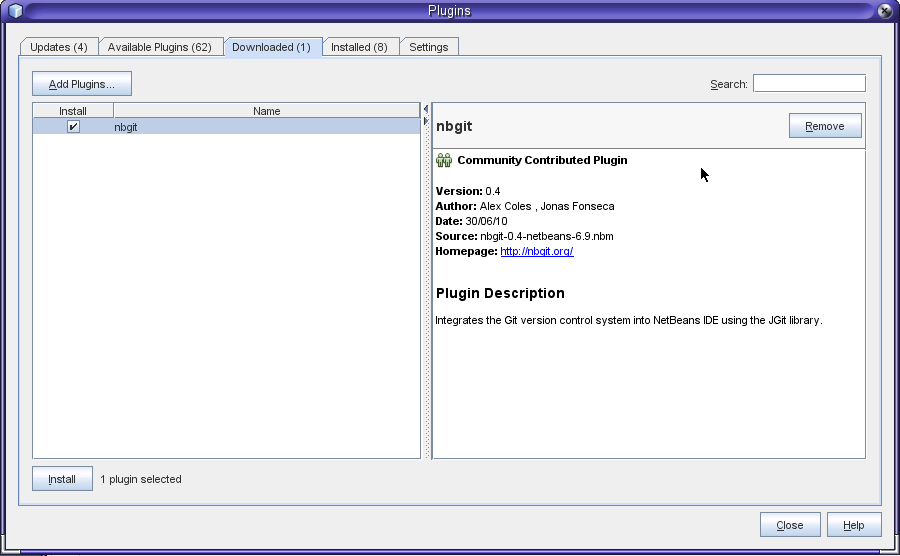

Now, click on the "Install" button at the bottom left of the Plugin window, and install the plugin with default options. Netbeans may also want to update when you do this, if so, select whatever options allow you to update. Typically, you can just click "Next", accept all terms, and trust all certificates. If you encounter any proxy errors, just click "cancel" and try again.
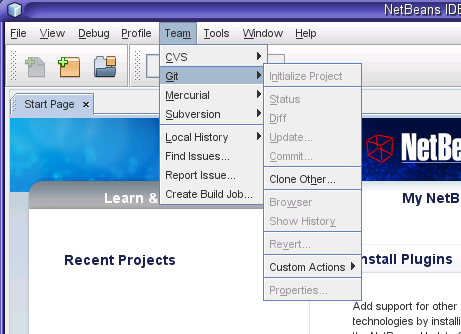
You must now restart netbeans. Once it is restarted, you should see the "Git" option under the "Team" menu. Select "Clone Other" from here:

Clone a project
Enter the following information, but change "PROJECT_NAME" to the name of the project that you want to check out. This should be the same case as it is on gitweb, at git.cc.umanitoba.ca. Leave the username and password blank:
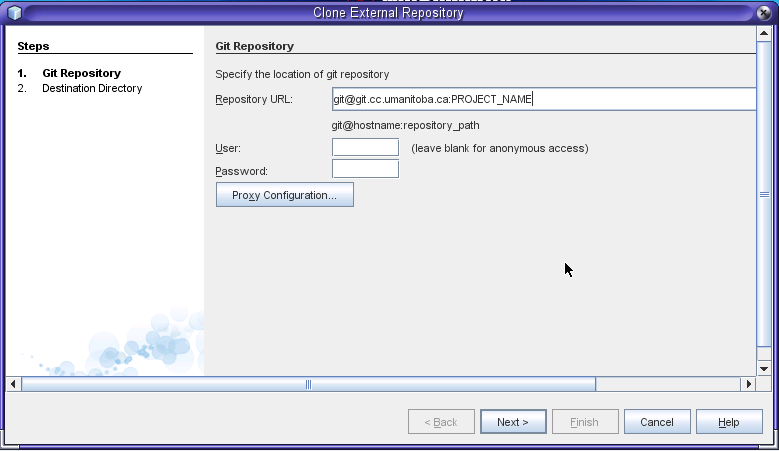

Click next, and use the default options to finish the clone. You have now checked out the project. When it asks you "do you want to open the project?" select "open the project".
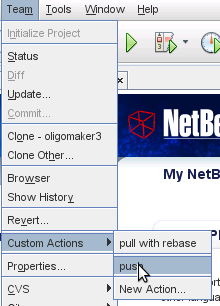
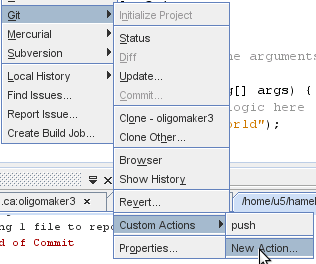
Create custom actions
You must now make a custom action for pushing and pulling with rebase. This is done by selecting Team->Git->Custom Actions->New Action:

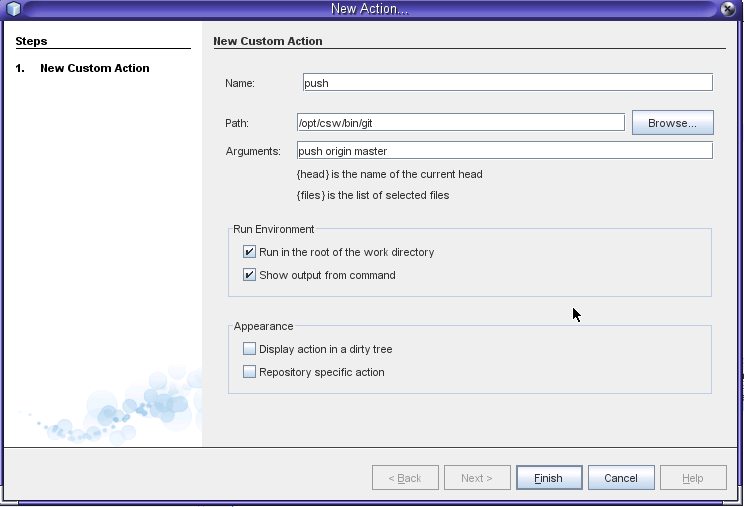
Create push custom action
Now just enter in the following values, to create the "push" custom action, which can be accessed as above:

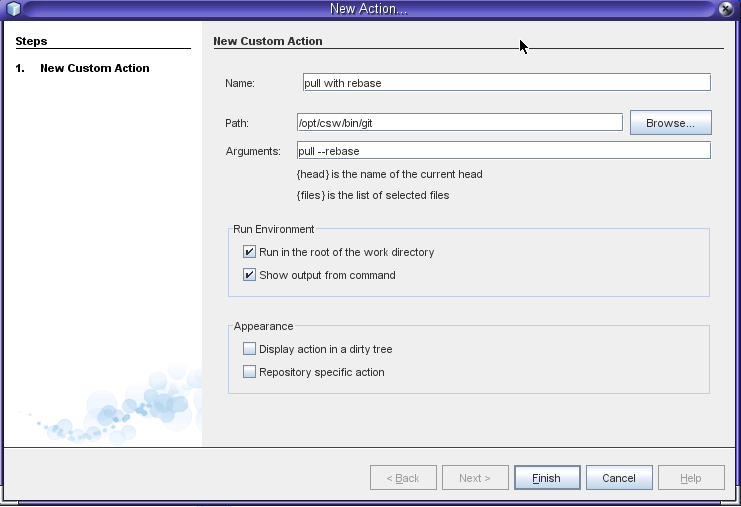
Create pull custom action
And make another custom action (select "New Action" as above) for pulling with rebase, using the following values:

Netbeans Git Workflow
The workflow will go like this:
- Commit your changes
- Update your repository, getting the changes from the remote repository
- Consolidate any conflicts
- Push your changes.
For the most part, all you will need to do is make commits and push. If you are collaborating with others, and they push their commits, then you must run a pull with rebase.
Making a Commit
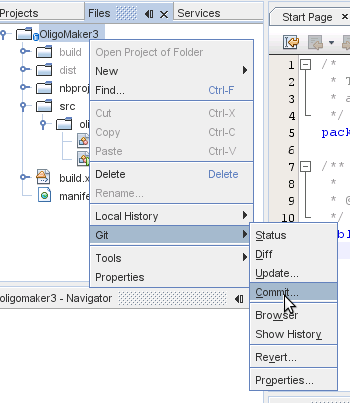
Select the "Files" view of the project, and right click on the root directory. From the context menu, select Git->Commit:

You must now enter a commit message, stating what work you have done since the last commit. This should be a short summary:
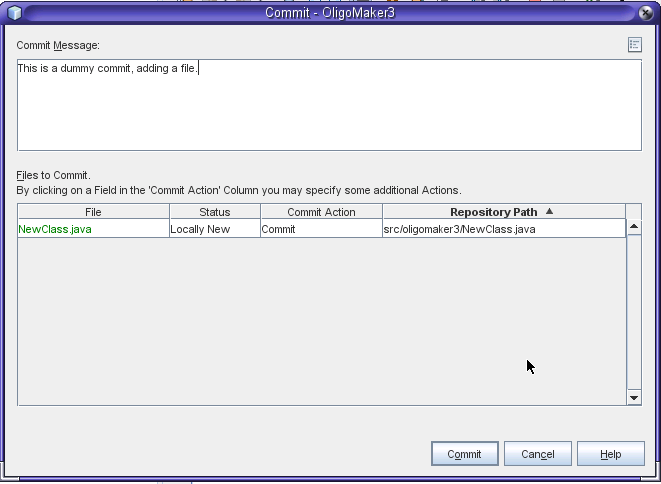

Now, click commit, and a new commit will have been made.
Updating from a remote repository
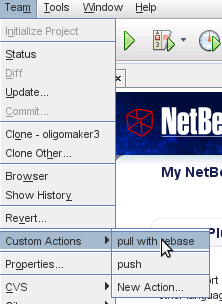
First, you must commit you changes. Then select the "pull with rebase" option from the custom actions that you created above:

Pushing your changes
First create a commit stating what it is you want to push, and then simply run the "push" custom action: