![]()
Tutorials
How to edit an RNA secondary structure?
You have: a secondary structure.
You want: to change this secondary structure.
In this tutorial, you will learn how to:
- modify base-base interactions
- create tertiary interactions
- delete tertiary interactions
- delete helices
- create helices
Having the right secondary structure allows you to more easily understand and construct your RNA. A secondary structure is made with helices linked and oriented by single-strands and junctions (apical loops, inner loops, 3-way junctions,...). As described in the tutorial "How to construct a 3D model from scratch?", helices, single-strands and junctions can be selected and their 3D fold can be easily exported in Chimera.
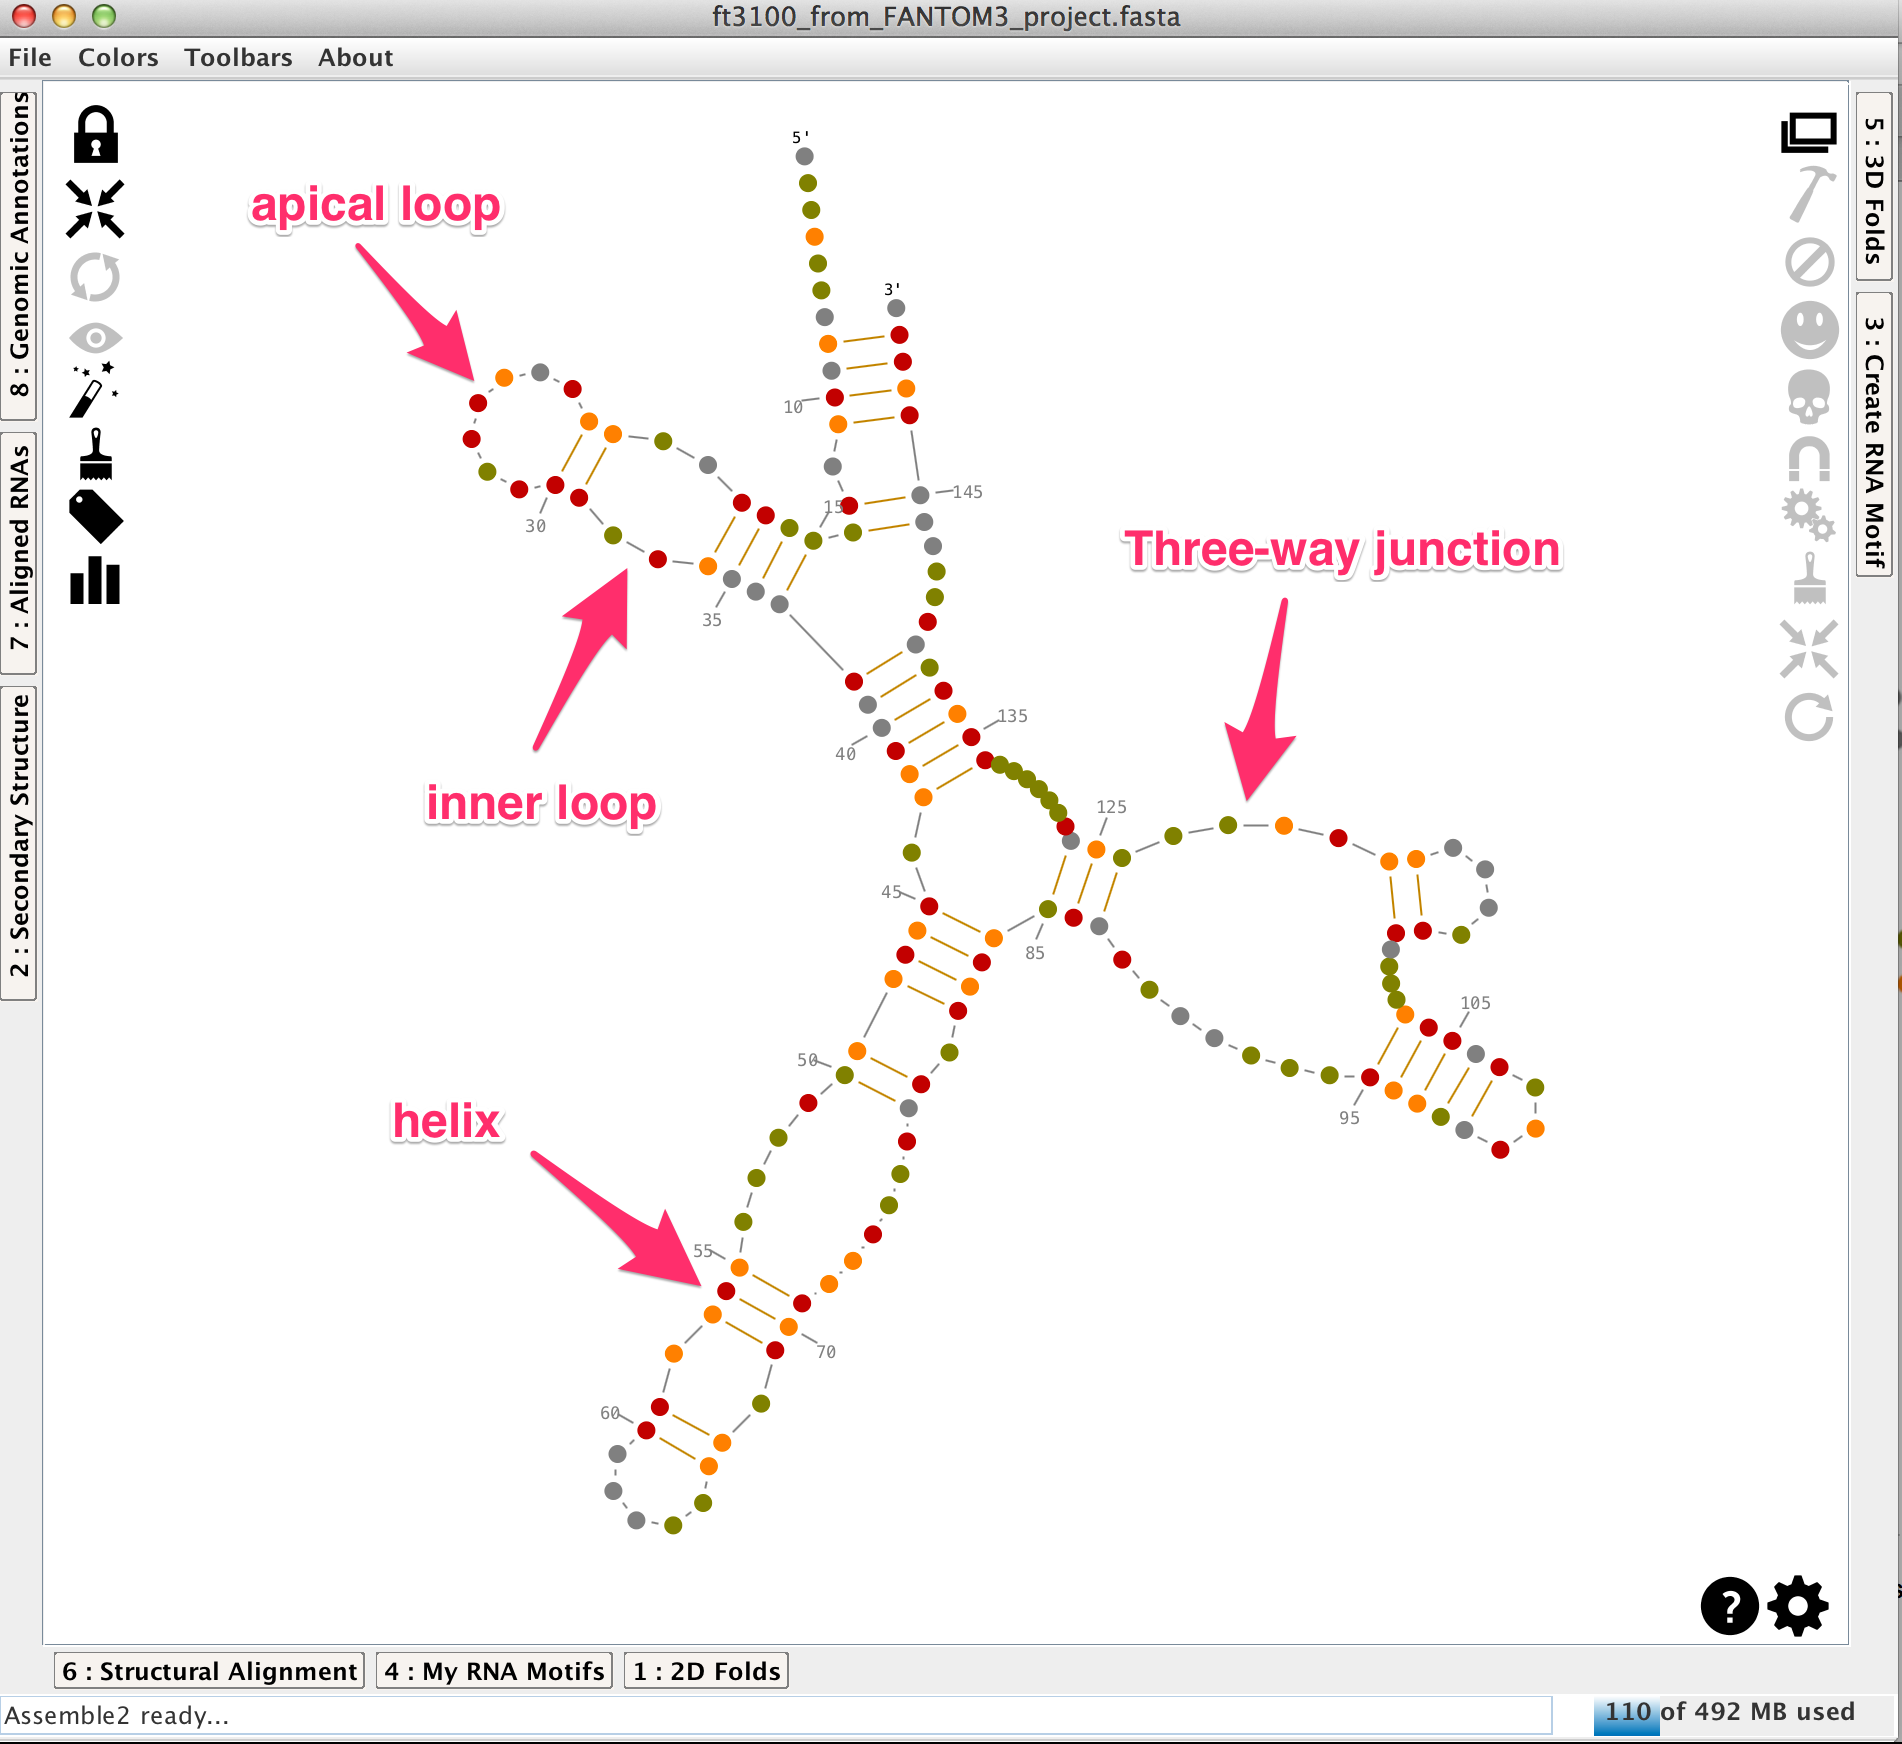
All the modifications done on the secondary structure are automatically synchronized with the hierarchical view displayed in the lateral panel "Secondary Structure" and with the bracket notation of the reference structure in the lateral panel "Structural Alignment".
By clicking on  , you lock and unlock your secondary structure. If unlocked, you will discover new buttons.
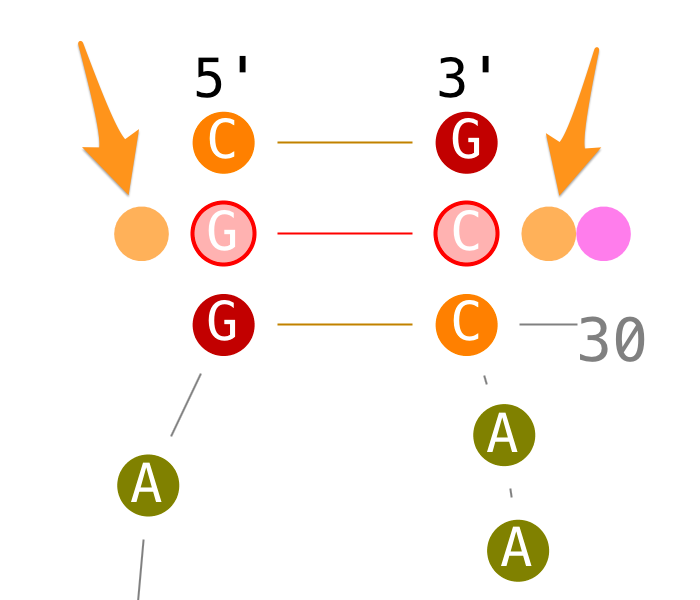
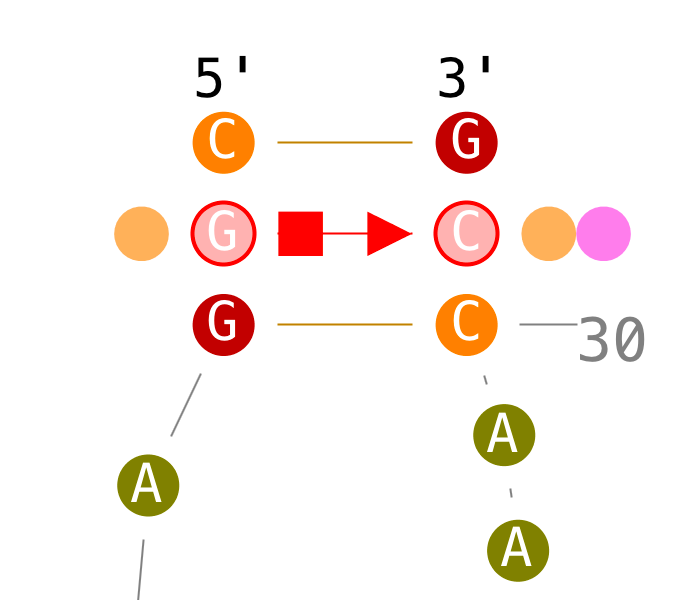
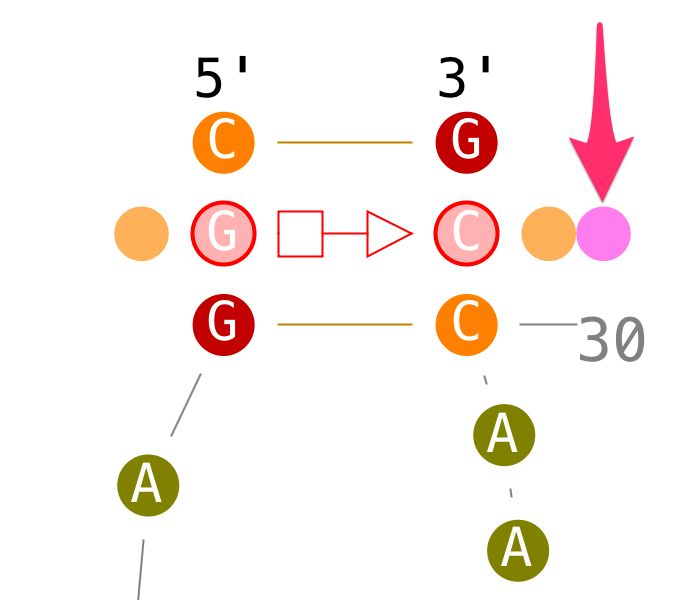
Modify base-base interactions
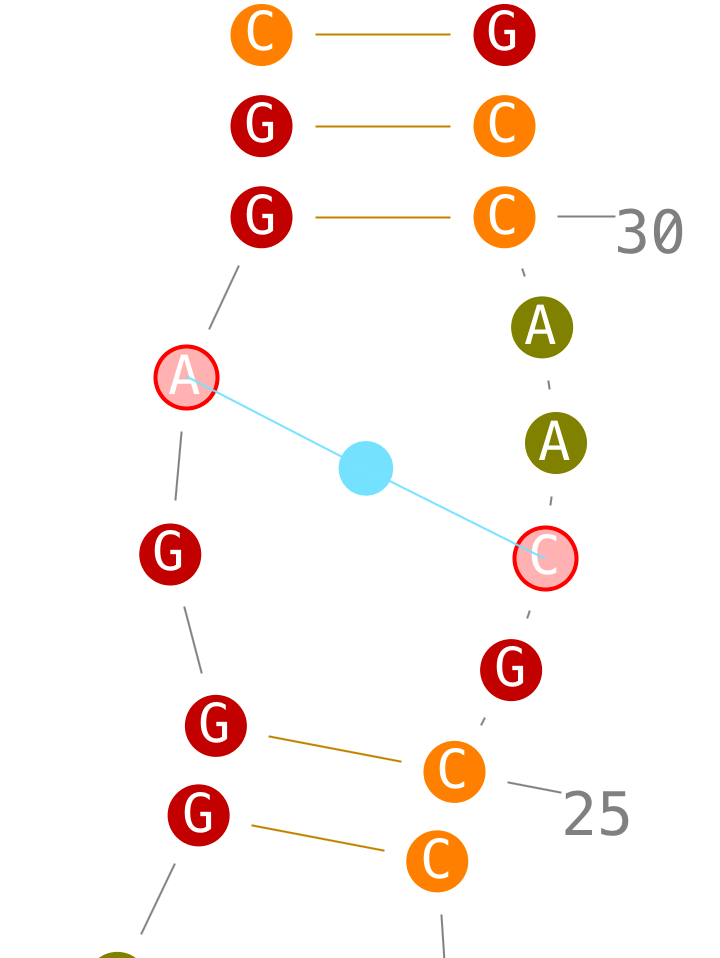
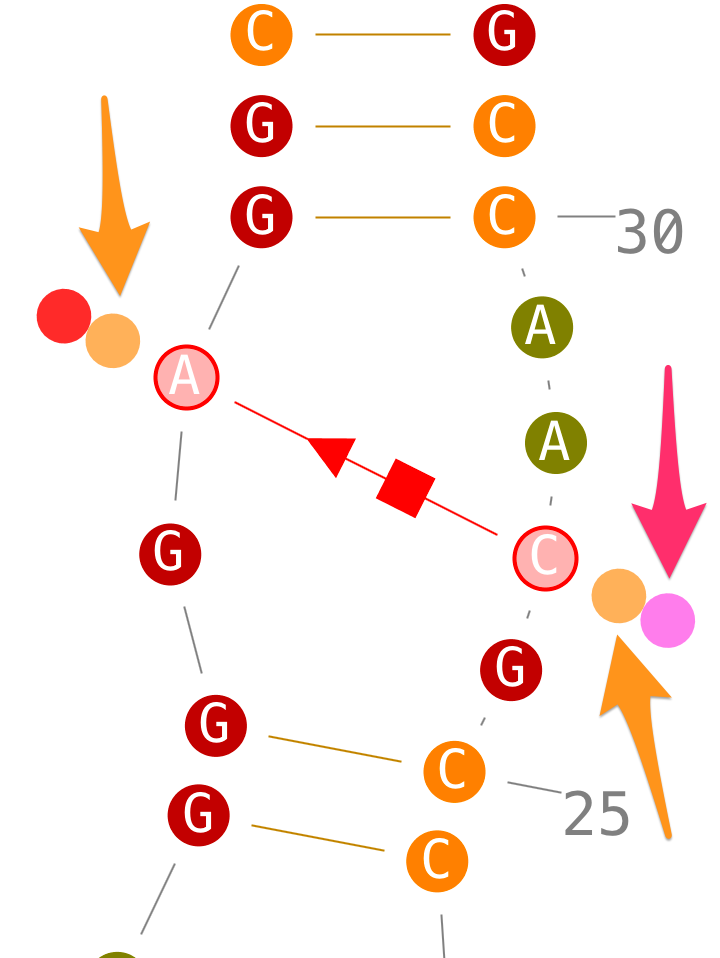
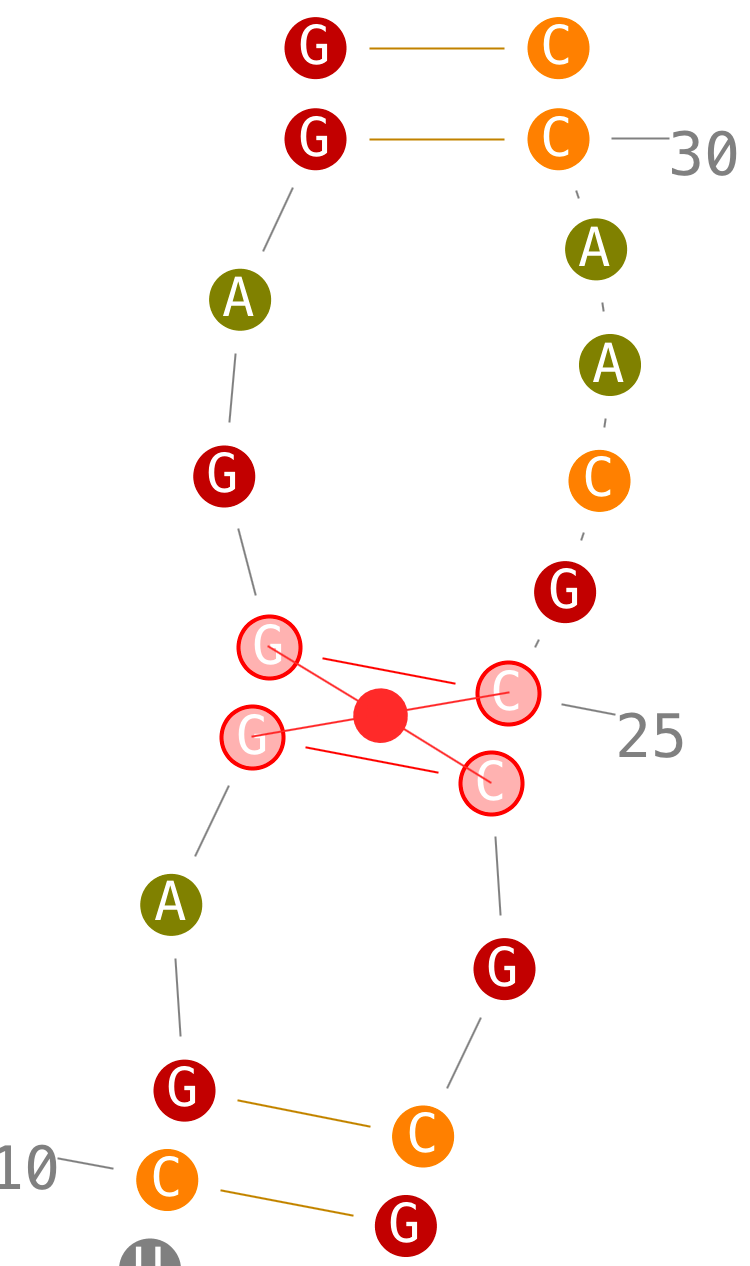
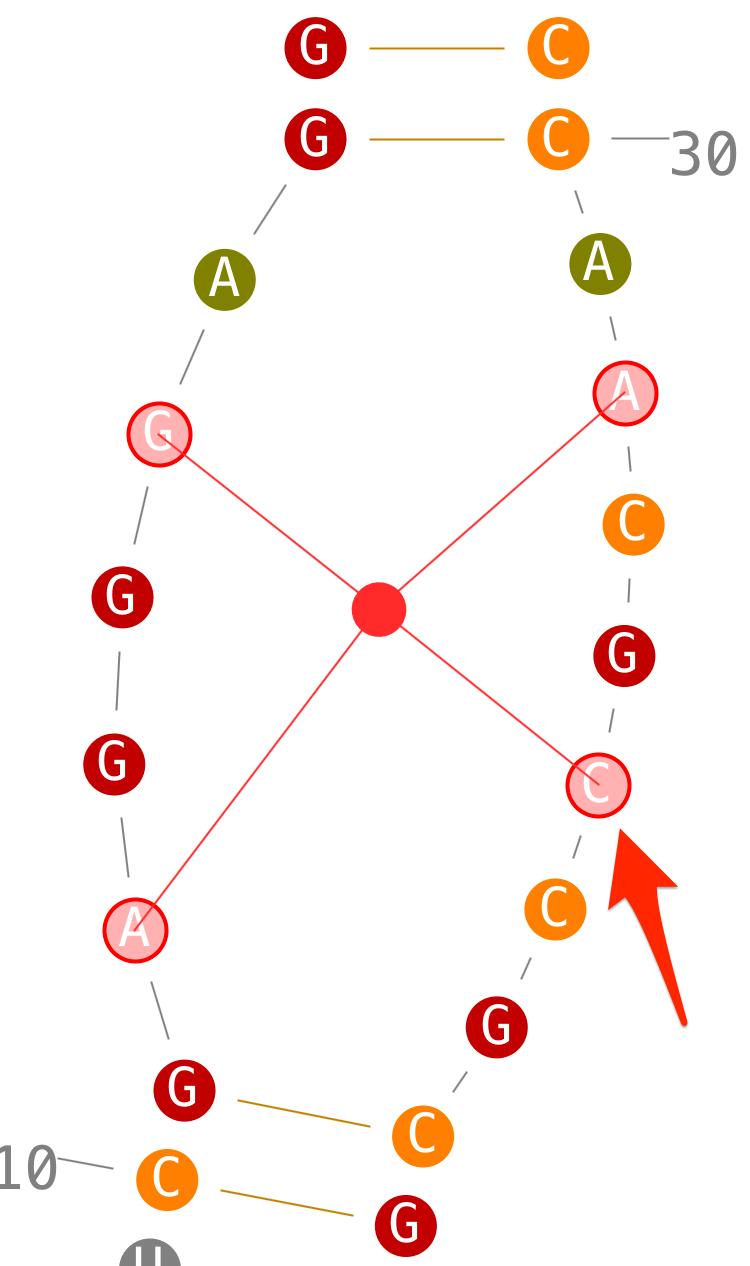
Create tertiary interactions
If secondary interactions can only be created with new helices, tertiary interactions can be created directly.

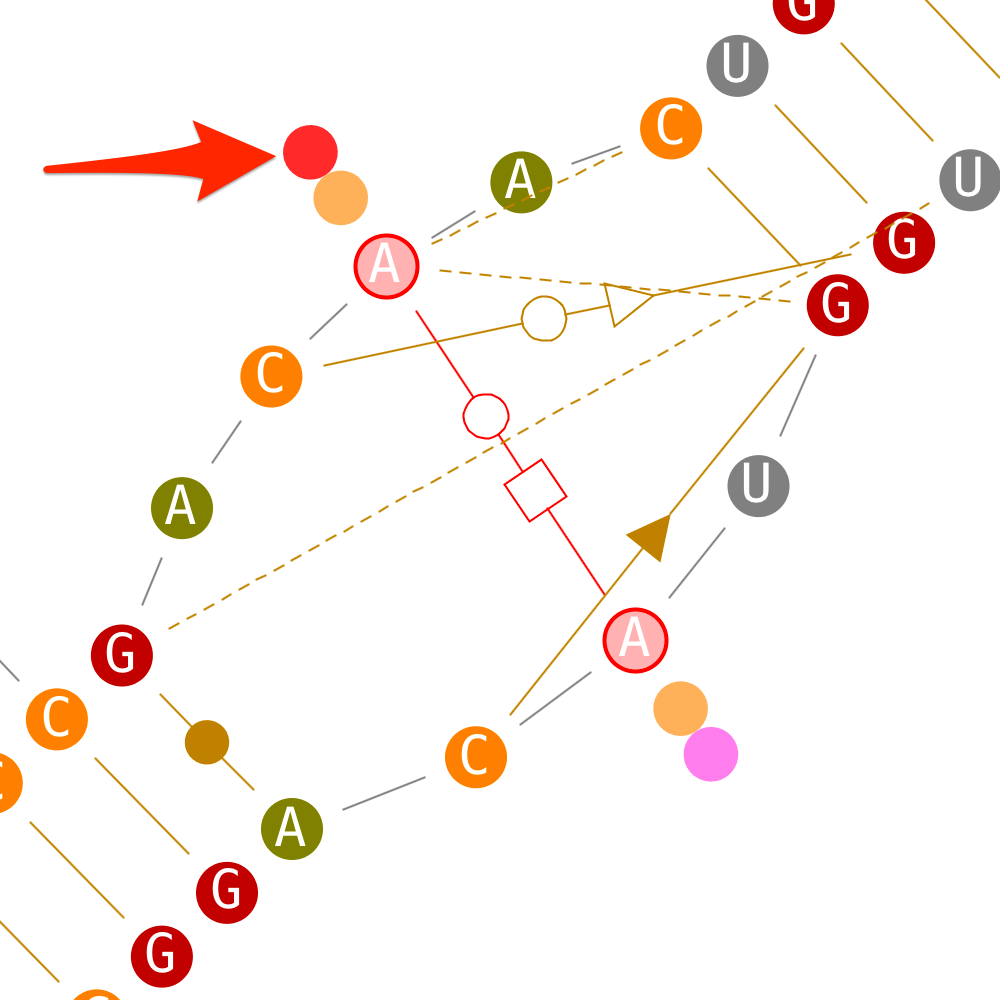
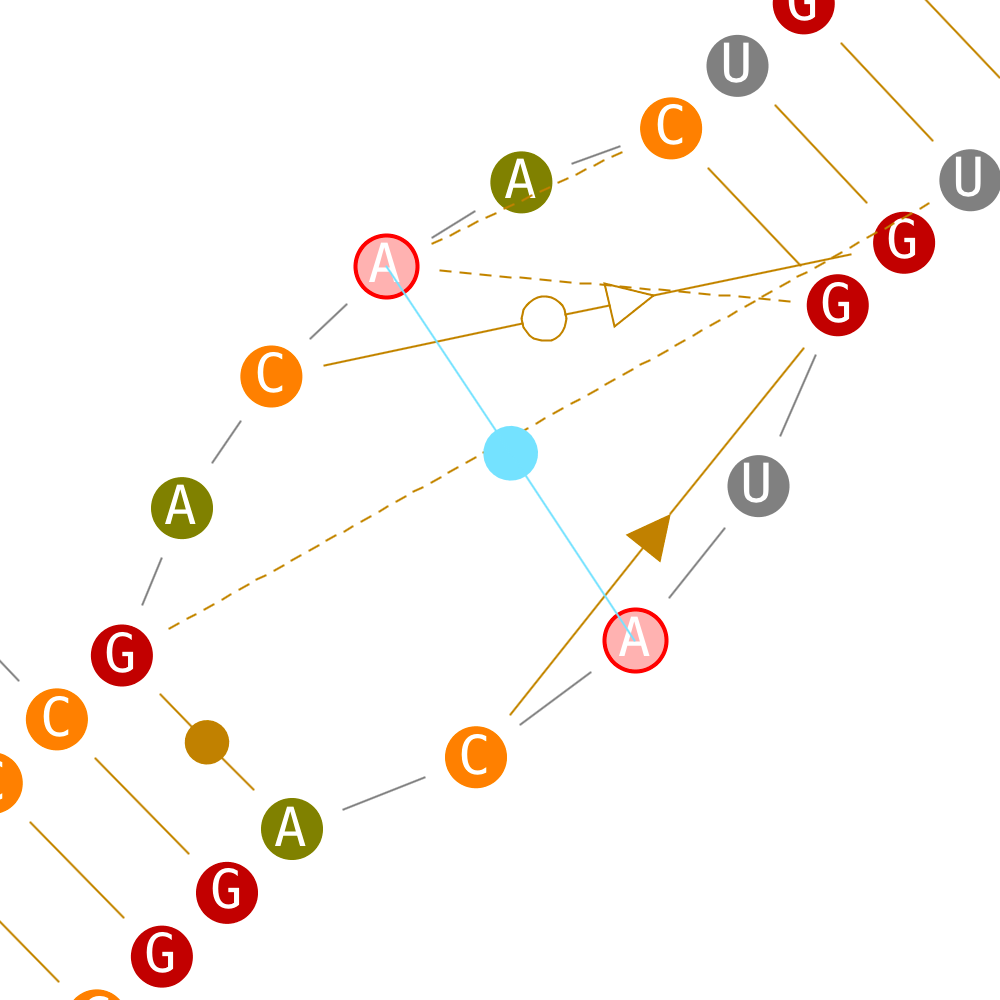
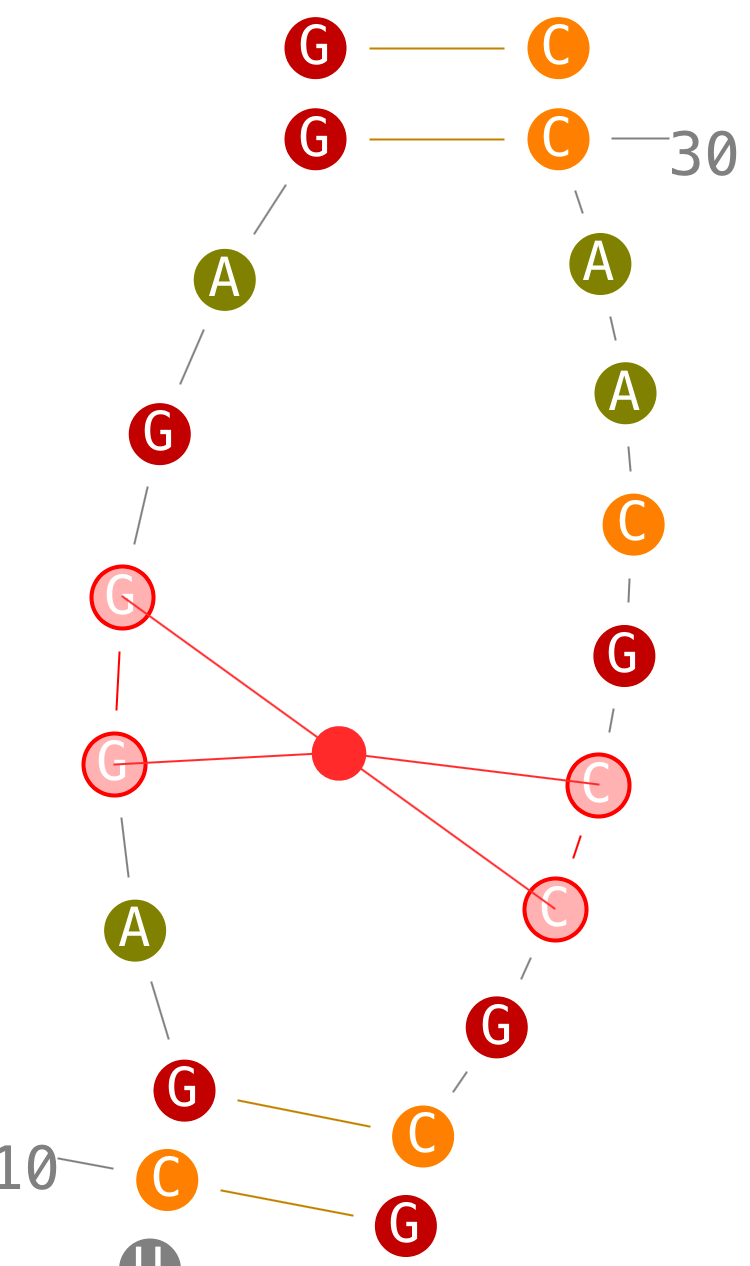
Delete tertiary interactions
If secondary interactions can only be deleted by removing their enclosing helix, tertiary interactions can be deleted directly.
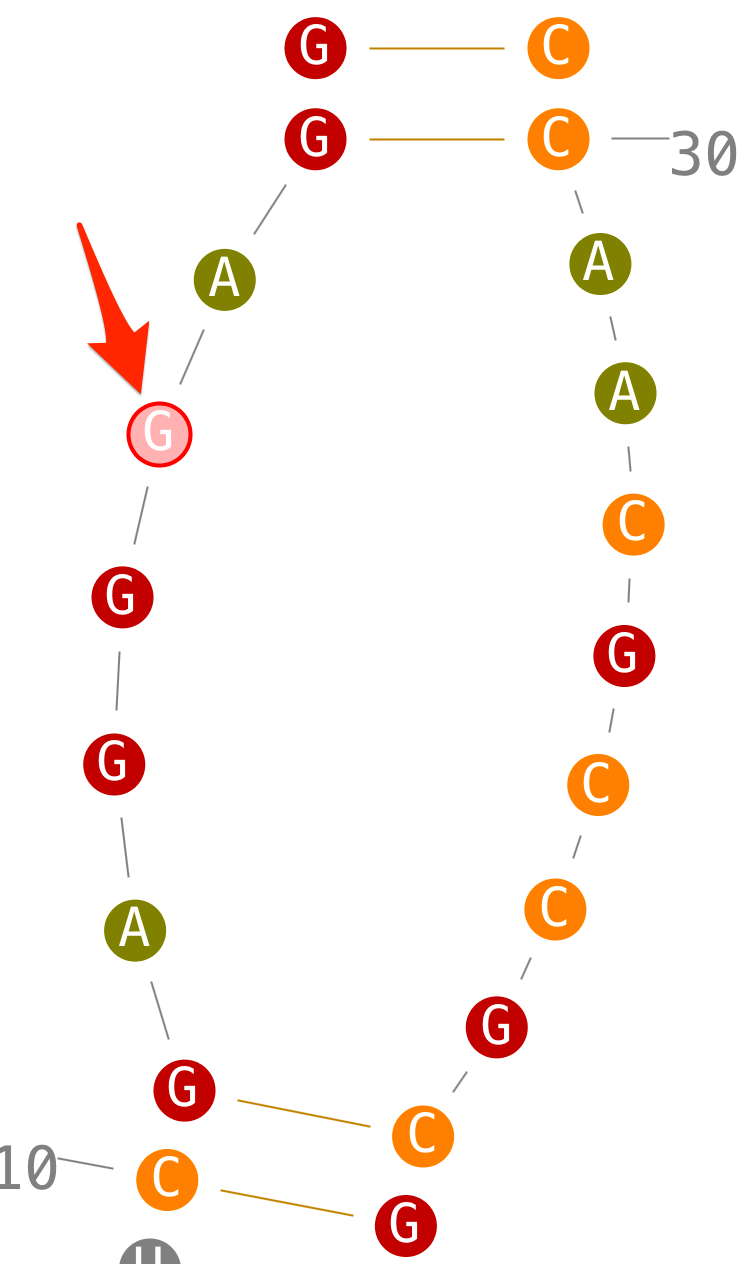
Delete helices
Create helices
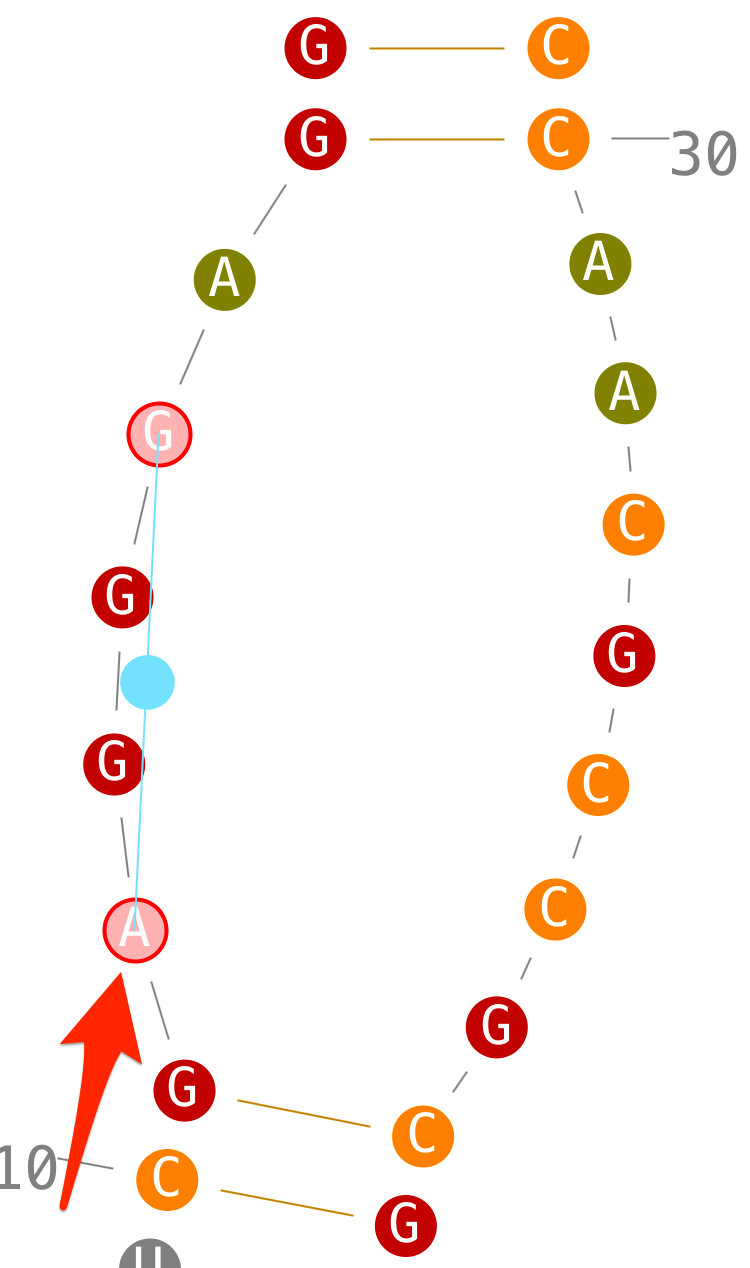
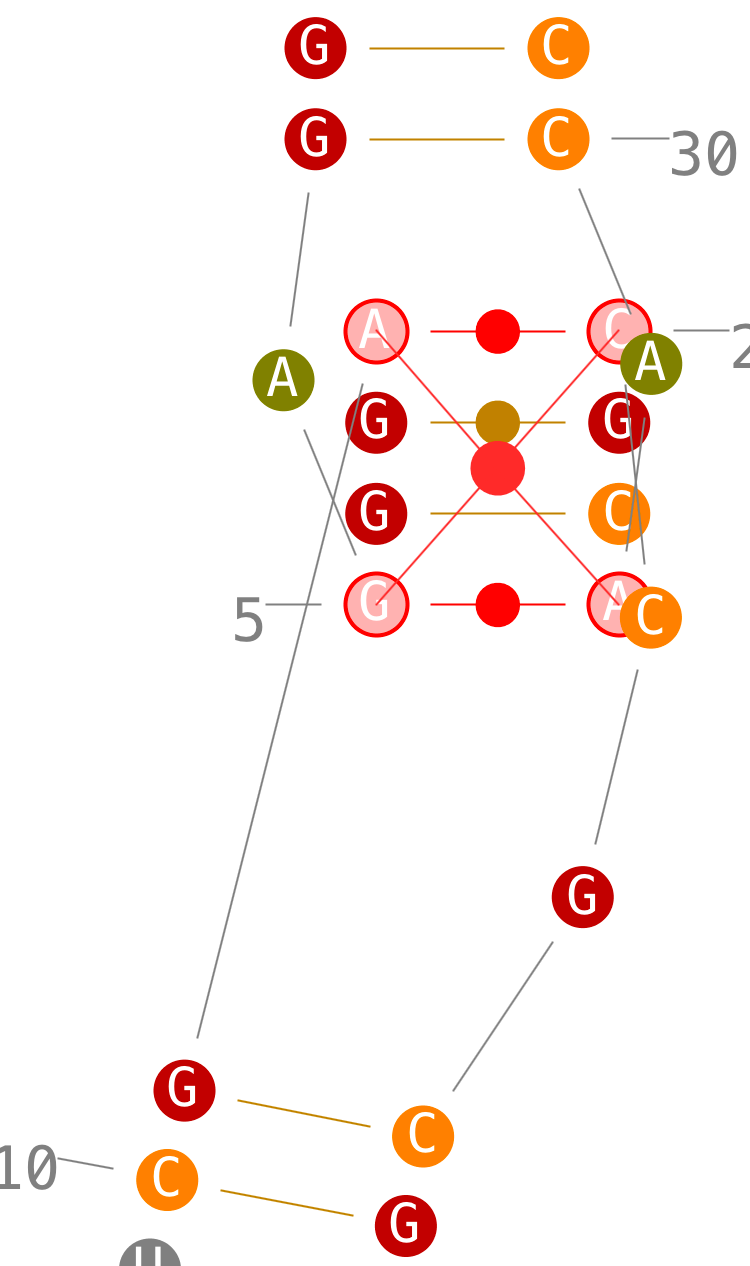
- step 1: select a first residue,
- step 2: select a second one,
- step 3: when you select a third one, Assemble2 select the last one automatically to have two strands with the same length,
- step 4: once the red circle clicked, a new helix is created. Ok, i know, the initial layout is not so great. I should improve it. For the time being, rotate your helix with the mouse and/or flip it with
 in the 2D toolbar